Have you ever felt like your Android phone could be a little smoother, or wondered how to fix small glitches without downloading extra apps? Developer Options is that hidden gem in your settings that lets you tweak system behaviors safely and easily.
It’s not just for programmers—millions of regular users turn it on every year to make their phones feel faster, spot problems quicker, and customize their experience. In this beginner-friendly guide, you’ll discover exactly how to enable it, which options are worth trying, and how to use them correctly so you never accidentally slow things down.
By the end, you’ll feel confident exploring these powerful tools the right way.
What Are Android Developer Options?
Android Developer Options is a hidden menu inside your phone’s Settings app. It gives you access to advanced controls that help developers test apps—but many of them are surprisingly useful for everyday users too.
Think of it as the “expert mode” for your Android device. It lets you adjust animation speeds, monitor performance, enable helpful debugging tools, and more. The menu stays hidden by default to prevent accidental changes, which is why you have to unlock it first.
Once enabled, you’ll find dozens of toggles and sliders grouped into clear sections like Debugging, Drawing, and Monitoring. Best of all, nothing you do here can permanently damage your phone—most changes can be reversed in seconds.
Key Features and Benefits of Developer Options
Here’s why beginners love turning on Developer Options:
- Smoother performance — Speed up animations so apps and screens feel instantly responsive.
- Easy troubleshooting — Spot touchscreen issues or lagging apps with visual tools.
- Better monitoring — See real-time GPU usage or CPU load to understand what’s draining your battery.
- Handy conveniences — Keep the screen on while charging or change default USB behavior when plugging into a computer.
- Future-proofing — Test new features safely before they reach everyone else.
Real-life example: If your phone feels a bit laggy when switching between apps, reducing animation speeds can make it feel brand new—without installing any “speed booster” apps.
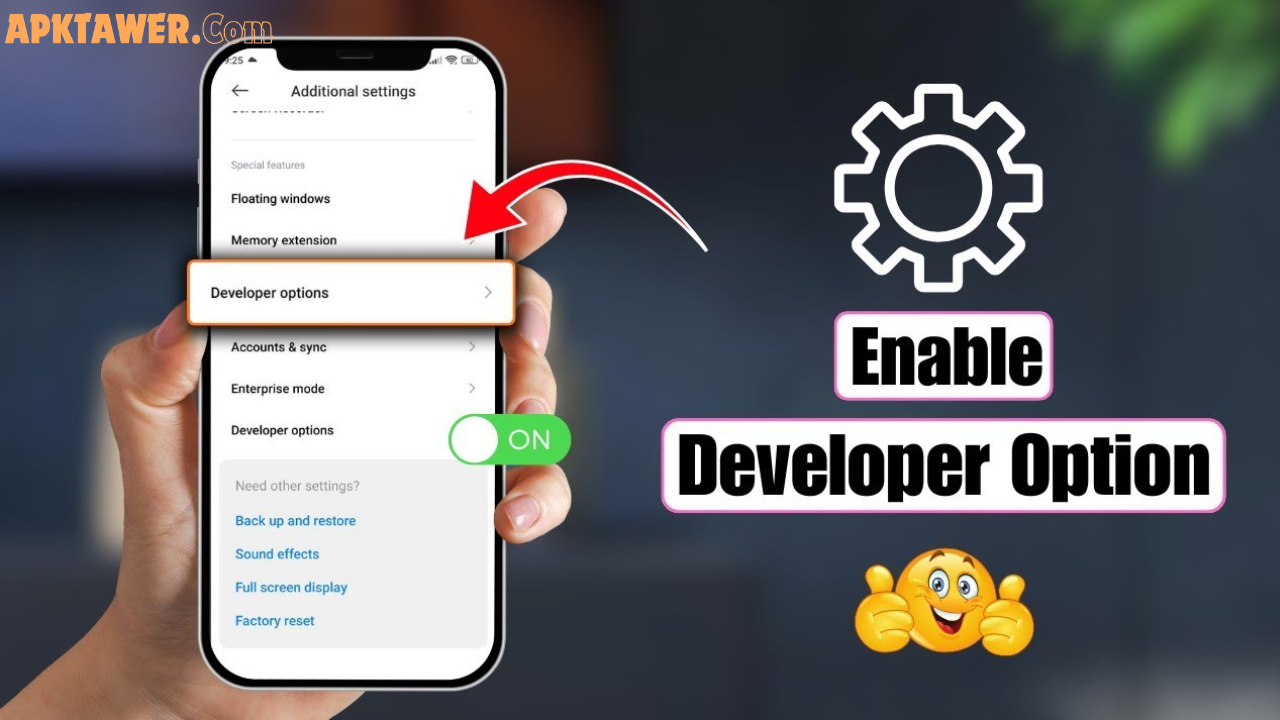
How to Enable Developer Options (Step-by-Step)
Enabling it takes less than 30 seconds on any Android phone running version 4.2 or newer (that’s almost every phone made since 2013).
- Open the Settings app.
- Scroll down and tap About phone (or About device on some brands).
- Find Build number (it may be inside Software information on Samsung or Xiaomi phones).
- Tap Build number seven times quickly.
- You’ll see a countdown, then a message: “You are now a developer!”
- Go back to the main Settings menu. Developer options now appears—usually near the bottom or under System.
Pro tip for 2026 devices: On the latest Google Pixel, Samsung Galaxy, or OnePlus phones, you can also search “Developer” directly in the Settings search bar after enabling it.
To turn the entire menu off later, just toggle the switch at the top of the Developer options screen.
Best Safe Options for Beginners
You don’t need to touch every setting. Here are the most helpful ones for everyday users, grouped by what they do best:
Performance Tweaks
- Window animation scale, Transition animation scale, Animator duration scale — Set each to 0.5x (or even 0) for lightning-fast app switching and scrolling. Many people say their phone feels 20-30% snappier instantly.
- Force GPU rendering — Makes 2D graphics use the graphics chip instead of the main processor—great for older phones.
Troubleshooting Tools
- Show taps — Draws a small circle every time you touch the screen. Perfect for recording tutorials or diagnosing touch problems.
- Pointer location — Shows exact coordinates of your taps—super useful if the screen is acting up.
- Profile GPU rendering — Displays colorful bars on screen so you can see which apps are slowing things down.
Convenient Everyday Options
- Stay awake — Keeps the screen on while your phone is charging (ideal for reading recipes in the kitchen).
- Default USB configuration — Set it to “File Transfer” so your phone always connects as a drive when plugged into a computer—no more tapping every time.
- Show refresh rate — Displays your screen’s current refresh rate (e.g., 120 Hz) in the corner—great for gaming or testing new phones.
Safety note: Only change one setting at a time and test how your phone feels. If anything seems off, just set it back to default.
Pros and Cons of Using Developer Options
Pros
- Free performance boosts and useful tools.
- Helps you understand and fix common Android issues.
- Completely reversible—no risk to your data or warranty.
- Works on every Android phone and tablet.
Cons
- Too many options can feel overwhelming at first.
- Some tweaks (like heavy GPU options) can slightly reduce battery life if left on.
- Not needed for most casual users.
Overall, the benefits far outweigh the downsides when you follow safe practices.
Practical Tips and Best Practices
- Start simple — Enable the menu, try the animation scales first, then explore one new option per day.
- Test and observe — Use one change for a full day and note how your battery, speed, and apps behave.
- Reset easily — At the bottom of Developer options, tap Reset to default values if you want everything back to normal.
- Security first — Only enable USB debugging if you actually connect your phone to a computer you trust. Turn it off afterward.
- Device differences — Samsung, Xiaomi, and Pixel phones sometimes label options slightly differently—use the search bar inside Developer options to find them quickly.
- When to disable — Many people keep the menu on permanently because the top toggle makes everything inactive. Others turn the whole menu off after they’re done tweaking.
Real-life tip: A friend of mine used “Show taps” while troubleshooting a cracked screen protector and discovered the phone was registering phantom touches—saved him a trip to the repair shop!
FAQs
Is it safe for beginners to use Developer Options?
Yes—absolutely. Nothing in the menu can brick your phone or delete your data. Just follow the step-by-step approach and change only what you understand.
Does enabling Developer Options void my warranty?
No. It’s an official Android feature designed by Google. Phone manufacturers expect users to explore it.
How do I turn Developer Options off completely?
Go back to Settings > Developer options and toggle the master switch at the top to “Off.” The menu will disappear until you enable it again.
What does USB debugging actually do?
It allows your phone to communicate with a computer for advanced tasks like backing up data or installing apps. Most beginners only need it occasionally.
Can Developer Options improve battery life?
Yes—by reducing animations or turning off “Mobile data always active” when on Wi-Fi, many users notice better battery performance.
Conclusion
Android Developer Options is one of the smartest hidden features on your phone. Once you know how to enable it and use the right settings safely, you can make your device feel faster, troubleshoot problems quicker, and enjoy a more personalized experience.
Start with the three animation scales today—you’ll notice the difference immediately. Then explore the other beginner-friendly options at your own pace.
Your Android experience is about to get a whole lot better. Go ahead and open Settings right now—you’ve got this!
If you found this guide helpful, explore more hidden Android features in your Settings app and keep learning. Happy tweaking!